Envisage Check-In Software User Guide
The Envisage Check-In software will be installed on a single PC at the surgery. If you use EMIS web, this will typically be a reception PC; if SystmOne, this will typically be the Gateway PC. The software will automatically launch to the notification tray on successful login to that PC. This guide goes through the settings available within the software. To see the full user manual, please go to Envisage Patient Check-in User Manual.
Accessing the software.
To access the software, you will need to go to the notification tray, locate the Check-In software. If the software is working correctly and connected to the clinical system, the icon is  ; however, if the software has a problem or is not connected to the clinical system, the icon is
  .
.
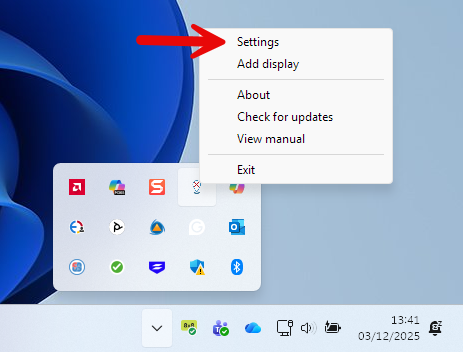
To go into the settings, you will need to right-click on the icon and choose Settings.
Envisage Check-In software settings.
The settings menu is on the left-hand side and will start with the Status. If you make any changes to the settings, click Close to apply them.
Status
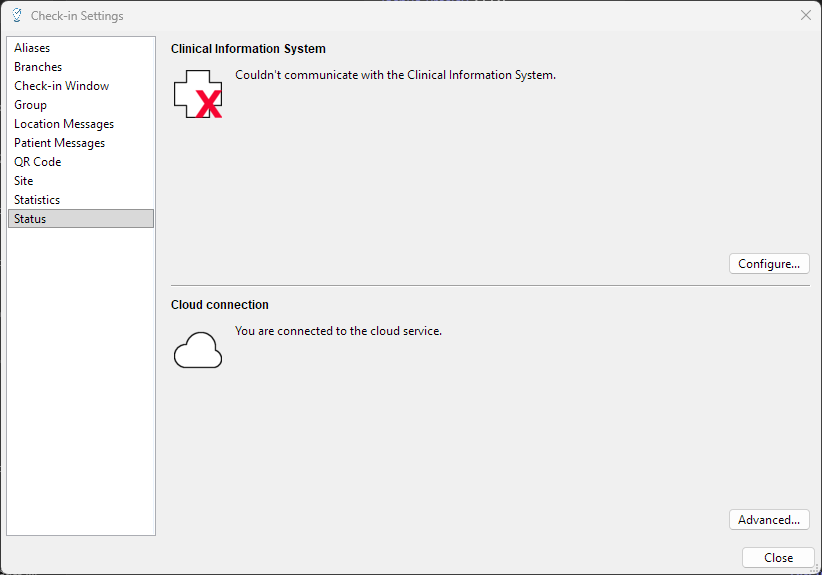
This will show you the status of the system. If all is working, this section will look like this:
However, if part of the system has a problem, there will be a red X in that section. If the X is against the Clinical Information System, it indicates the problem is with the connection to your clinical system. If the X is against the Cloud connection, this means there is a problem connecting with the Envisage Check-In servers.
Aliases
This feature allows you to change the name of a clinician or clinic from how it appears in the clinical system to something else. To use, click Add, then click in the Clinician field, and a drop-down menu will appear with the list of all clinicians and clinics. Select the clinician you wish to change the name of, then in the Replace with field, put how you would like them to appear on the Check-In screen. To remove an alias, click the X to the right of the name.
Branches
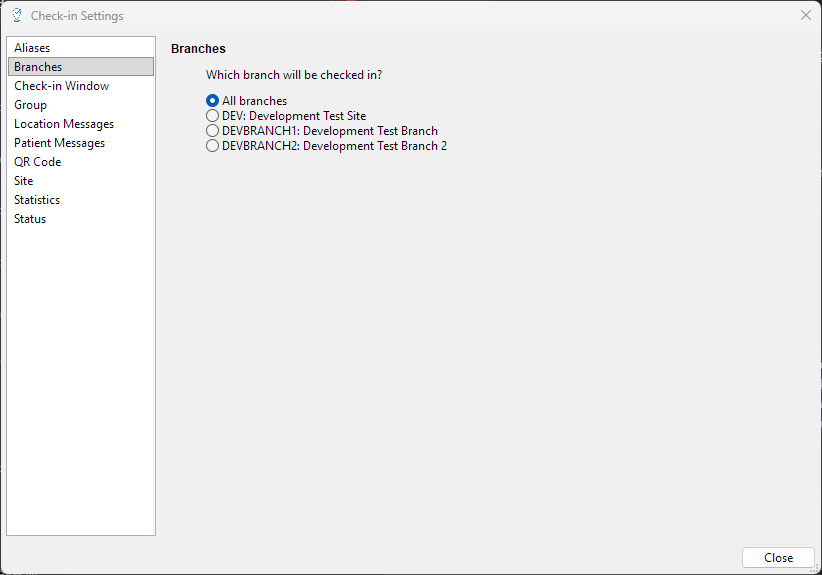
The Branches menu will show a list of site names that have been retrieved from the Clinical Information System. You can select a specific site to limit the ability for patients to only check in for appointments at the chosen site. This prevents, for example, patients whose appointment is at the branch site from checking in at the main site.
Check-In Window
The Check-In Window allows you to adjust the time frame that the software will search for appointments, and either allow the patient to check in or notify them if they are too early or too late. Any check-in attempts outside of this timeframe will advise the patient to go to reception. The timeframe in my image below is the default.
Group
The grouping feature allows multiple surgeries or services to share a check-in system. If you would like to set up a group, please contact Numed support to discuss your requirements and for assistance.
Location Messages
The location message feature allows you to advise patients where to go after check-in. This can be changed for all check-ins or by the clinician. If a clinician moves rooms on a schedule, this can be programmed into the software as well.
To use, first set the default message for all check-ins in the System default location message drop-down menu.
If you want to set a different location for a clinician, choose the clinician's name from the Clinician drop-down menu. If you've applied an alias within the Check-In software, it will display that name instead.
Now you need to select the default location for that clinician using the Clinician's default location drop-down menu.
If that clinician is always in that particular area, put a tick in the Always use the default message.
Or if the clinician moves to different waiting areas, you can schedule this into each day. This can be set for either the whole day or a timeframe for appointments within that day. Click the plus against the day, then click From - To to set the time frame. Once you set the time frame or all day, click OK.
Now you can choose the waiting area using the Select waiting area drop-down menu.
If you need to add multiple entries for a day, please click the + next to the day. The image below shows what a completed schedule could look like.
Patient Messages
The patient messages feature allows you to give a message to the patient when they check in for the selected clinician. To use, click the Clinician drop-down menu and select the required clinician. You can enter the message you wish to display to the patients checking in for that clinician.
QR Code
This menu allows you to turn the QR code check-in feature on or off. If you remove the tick in Provide QR-based check-in, the QR code on the check-in screen will be removed.
Site
Under the site, you can use a custom site name for your surgery; the system, by default, will get the surgery details from the clinical system. However, this could be a group practice name or all in capitals, for example. By enabling Use a customer site name, you can put your preferred name to be displayed when a patient checks in.
Statistics
The Statistics menu allows you to view and download usage statistics for the last 30 days, including how many successful and unsuccessful check-ins there were.
Join Remote Support
Join live Chat
You can chat to one of our technical support team Monday – Friday 8.00am – 5.30pm. |