How to configure EMAS Manager for I3
If your clinical
system is Optum EMIS web, before you can use the Intelligent Integration
Interface you will need to activate the product with EMAS manager. When
you get new members of staff you will also need to ensure that they have been enabled
within EMAS manager to use the software.
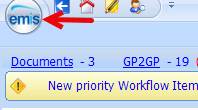
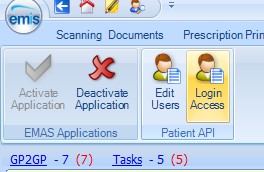
1. In EMIS Web
click the EMIS button
2. Select ‘System Tools’ then ‘EMAS Manager’. If you cannot see the ‘EMAS Manager’, option you will need to ask a user with higher permissions to complete these steps (eg. Practice Manager / IT Manager).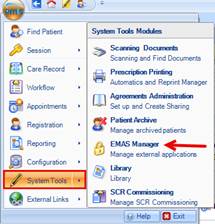
 4. Select Intelligent
Integration Interface from the list. Once
highlighted, click ‘Activate Application’
4. Select Intelligent
Integration Interface from the list. Once
highlighted, click ‘Activate Application’ 5. Select ‘Edit
Users’
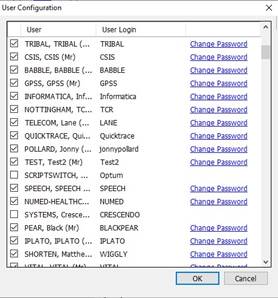
5. Select ‘Edit
Users’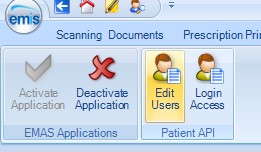
 8.
Select all the users you would like to have access to use the i3
module. Ensure you tick both boxes to allow for auto log in.
8.
Select all the users you would like to have access to use the i3
module. Ensure you tick both boxes to allow for auto log in.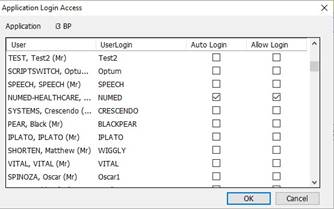
2. Select ‘System Tools’ then ‘EMAS Manager’. If you cannot see the ‘EMAS Manager’, option you will need to ask a user with higher permissions to complete these steps (eg. Practice Manager / IT Manager).
3. Click on the ‘Partner API’ bar located at the bottom
left of the EMAS Manager Screen.
6. Ensure all
users who are likely to need to use i3 are selected. In selecting a user, you
will need to specify a password. Choose any password, the user does not need to
know this for our application. Note this is a global list for all
interoperability products so we suggest you do not de-select any currently
selected users.
7. Next select ‘Login Access’
The software
will now be available to use once activated on each PC.
Join Remote Support
Join live Chat
You can chat to one of our technical support team Monday – Friday 8.00am – 5.30pm. |