SpiroConnect Settings and Database Location Guide
The settings within SpiroConnect Data Manager are set on a Windows user
basis. When we install the software, we attempt to copy the settings to all the
users on the PC; however, occasionally this doesn’t work due to local IT
restrictions. Therefore, in those situations, each user will need to configure
SpiroConnect Data Manager before they use SpiroConnect for the first time.

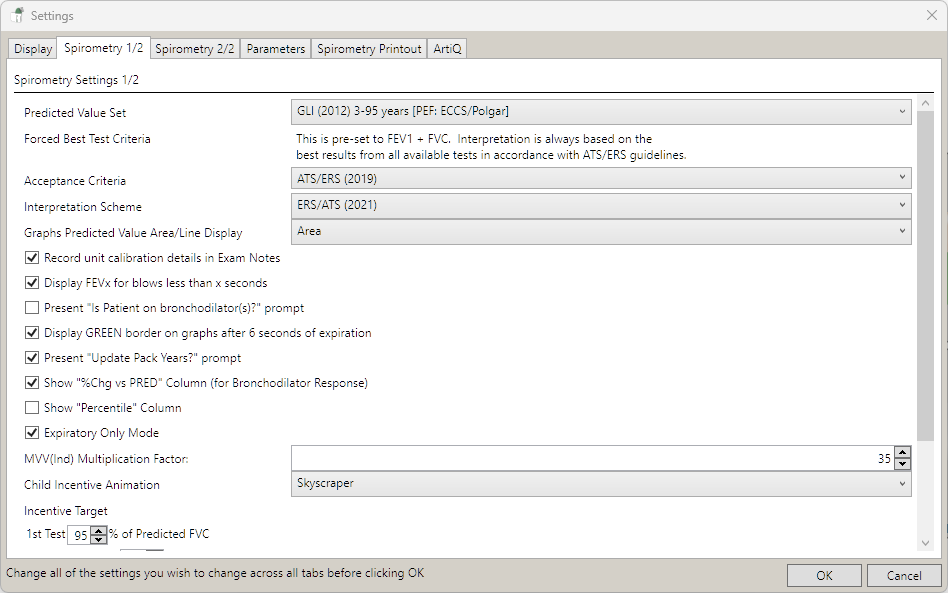
The settings listed below show the predicted values to use the GLI 2012 (Quanjer), if you wish to use the new GLI Global 2022 predicted values please go to the GLI Global User Guide for SpiroConnect and Intelligent Integration Interface.
 Please note that these settings should be classed as the minimum required to perform and interpret spirometry; however, you can adjust these to your clinical requirements as needed.
To launch SpiroConnect Data Manager, please double-click on this icon
located on the desktop.
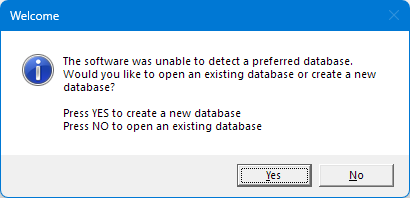
1. When the software opens, you get a message
stating that the software was unable to select a database. Choose No to open an
existing database. If this doesn’t appear, go to step 3.
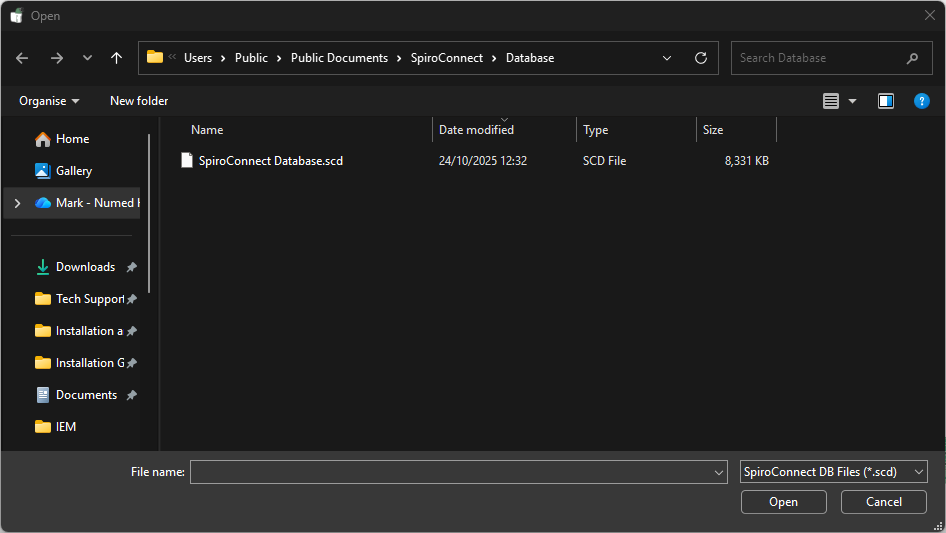
2. We would normally keep the database named
SpiroConnect Database.scd in the default location chosen by the software; however, you can store this on a network drive as well. Once located, select the
database and click open
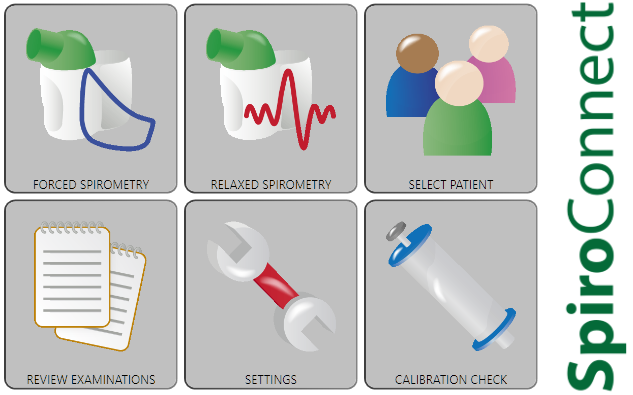
3. To access the configuration, please click
Settings
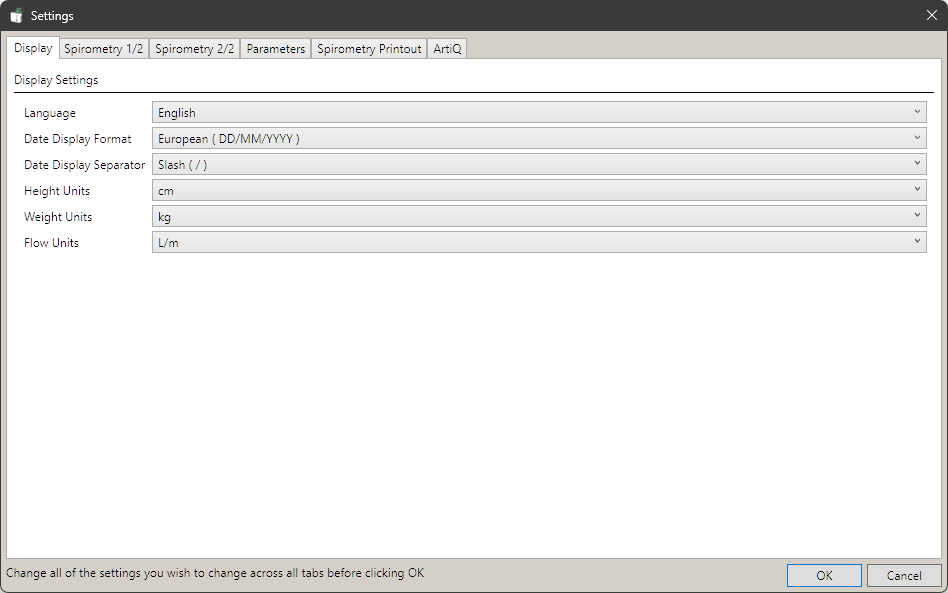
4. Configure the Display as shown
5. Spirometry 1/2
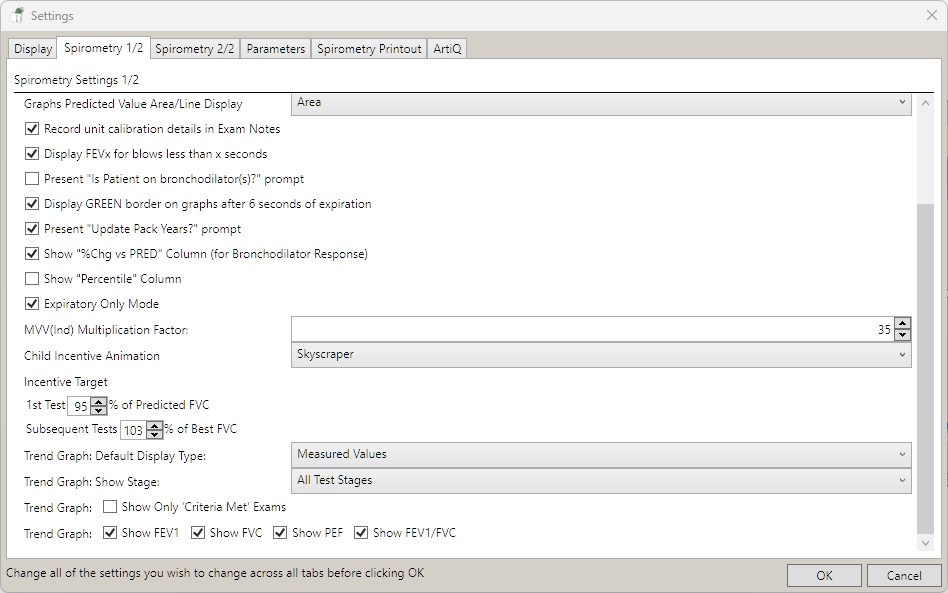
6. Spirometry 2/2
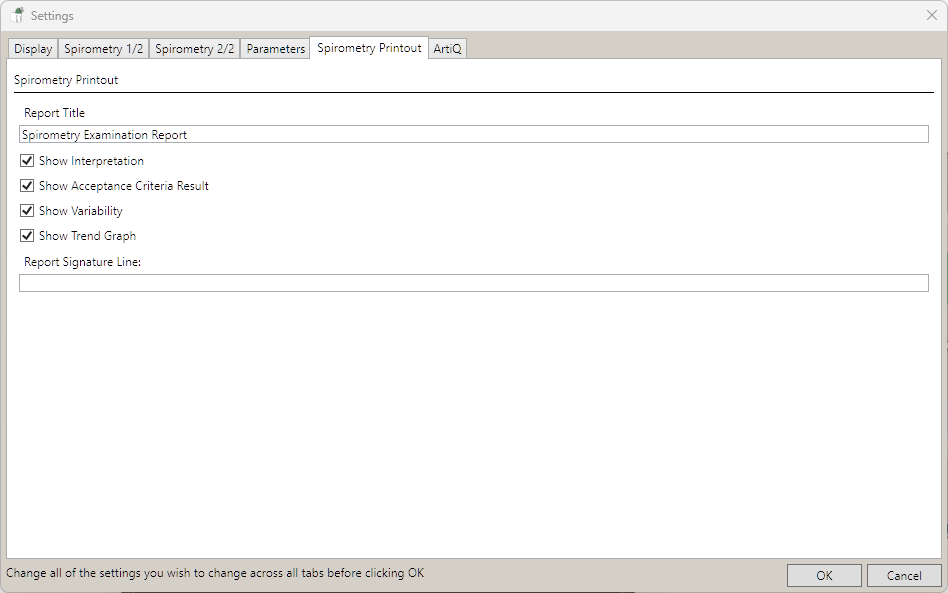
8. Spirometry Printout, once configured, click OK. The ArtiQ tab is only used if you have
purchased the ArtiQ integration.
8. Click OK, then close the software.
You are now able to use the SpiroConnect spirometer, if you have any
queries about the settings. issues or problems connecting the device, please use the live chat on this page.
Join Remote Support
Join live Chat
You can chat to one of our technical support team Monday – Friday 8.00am – 5.30pm. |