CodaSign Guide Part 5 - Using Templating
The Templating feature provides a wide range of ready‑made slide templates that you can quickly customise by adding your own details and information.
Using Templating
Choosing your template
- Select
from the menu bar.
- Click
.
- Filter by industry using the drop‑down menu.
- Select the template you want to use, then click
.
Edit Slide
On the left-hand side, you'll see all the editable fields.
On the right-hand side is a live preview that updates each time you make a change.
- Slide Name - The internal name for your slide. This will not appear on the slide itself.
- Slide Duration - How long the slide will display (in seconds). You can adjust this as needed.
- Slide Font - Select the font used for this slide. If left blank, the default is Merriweather.
- Title - The slide’s main title. Changing this will update the preview instantly.
- Body Text - The main content of the slide. Some templates contain pre‑filled text where you can add your organisation-specific information (e.g., opening hours).
- Image - If the chosen template allows an image, you can upload one here by clicking
. The preview will update once the image has been added.
- Image Position - Depending on the template, you may be able to change where the image appears. If no option is selected, the image defaults to the right side.
- Scrolling Message - Optional. Displays a moving message along the bottom of the slide.
- Override Branding - Ticking this allows you to change the colour scheme for this slide only. See the Configure Branding section for more details.
Once all required fields are completed, the preview will show exactly how your slide will appear. If needed, click  .
.
Click  to finalise your slide.
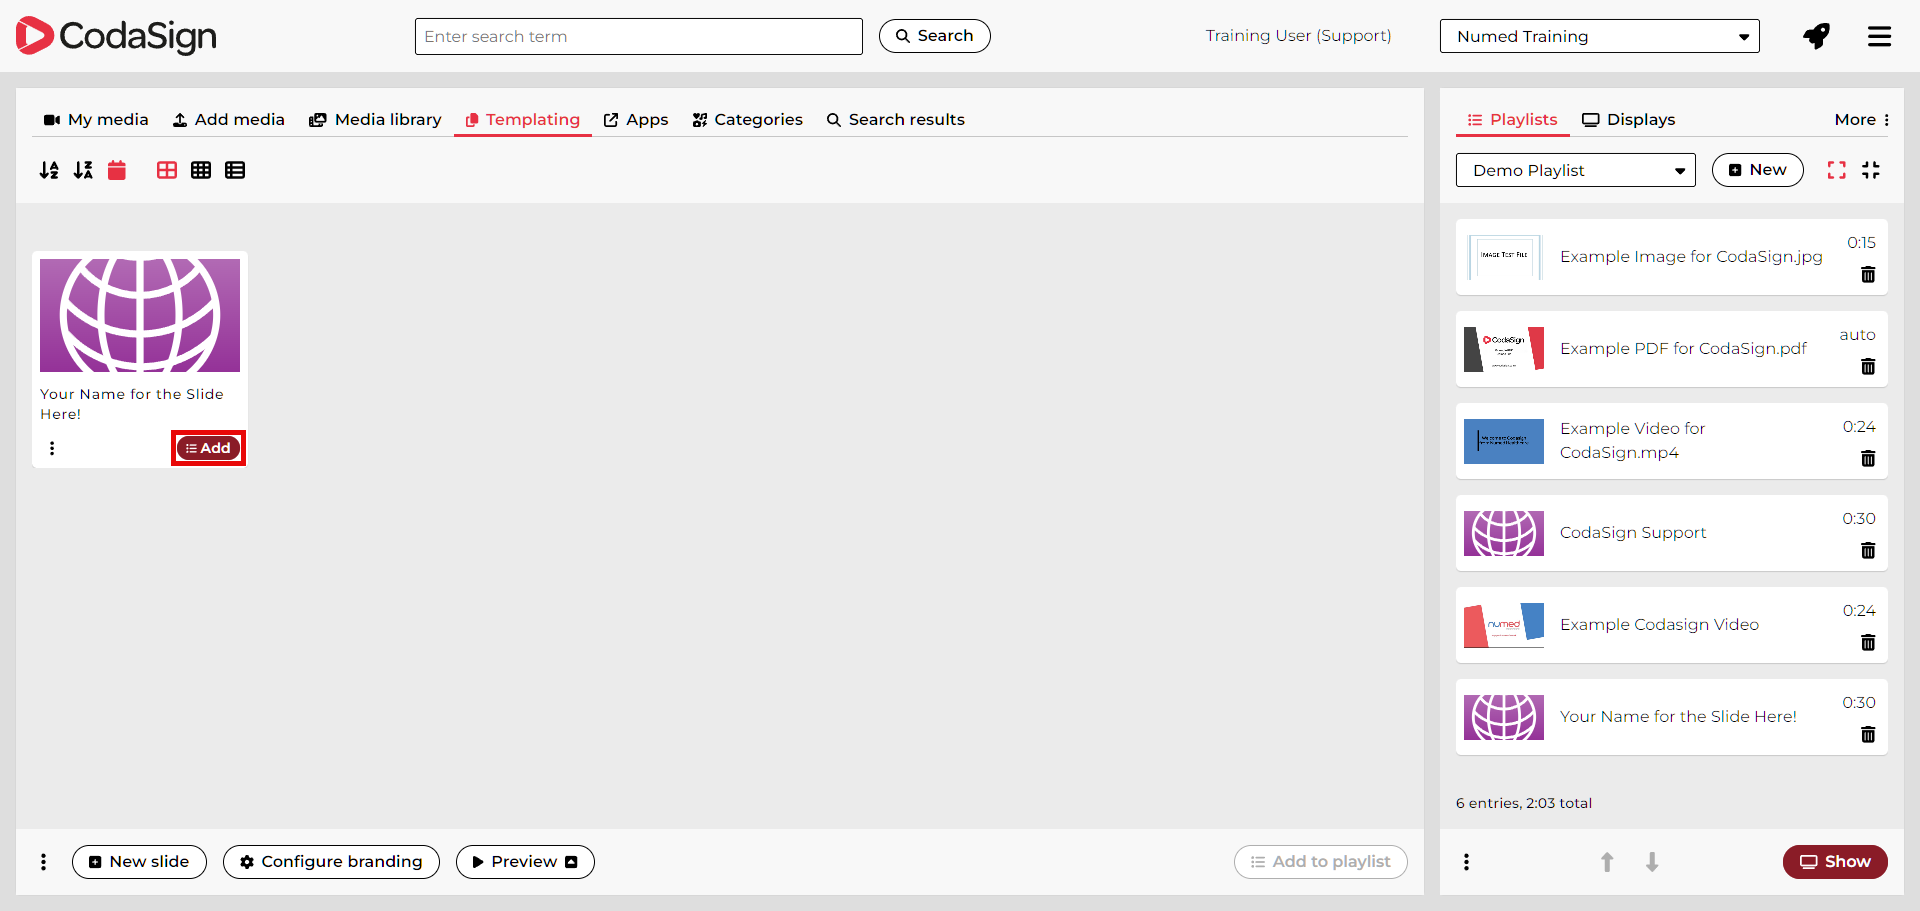
To add your completed slide to a playlist, make sure a playlist is selected (see CodaSign Guide Part 3 - Creating and Managing Your Playlists), then click  .
.
Previewing, editing and deleting created Slides
To preview a previously created slide
- Select the slide.
- Click
.
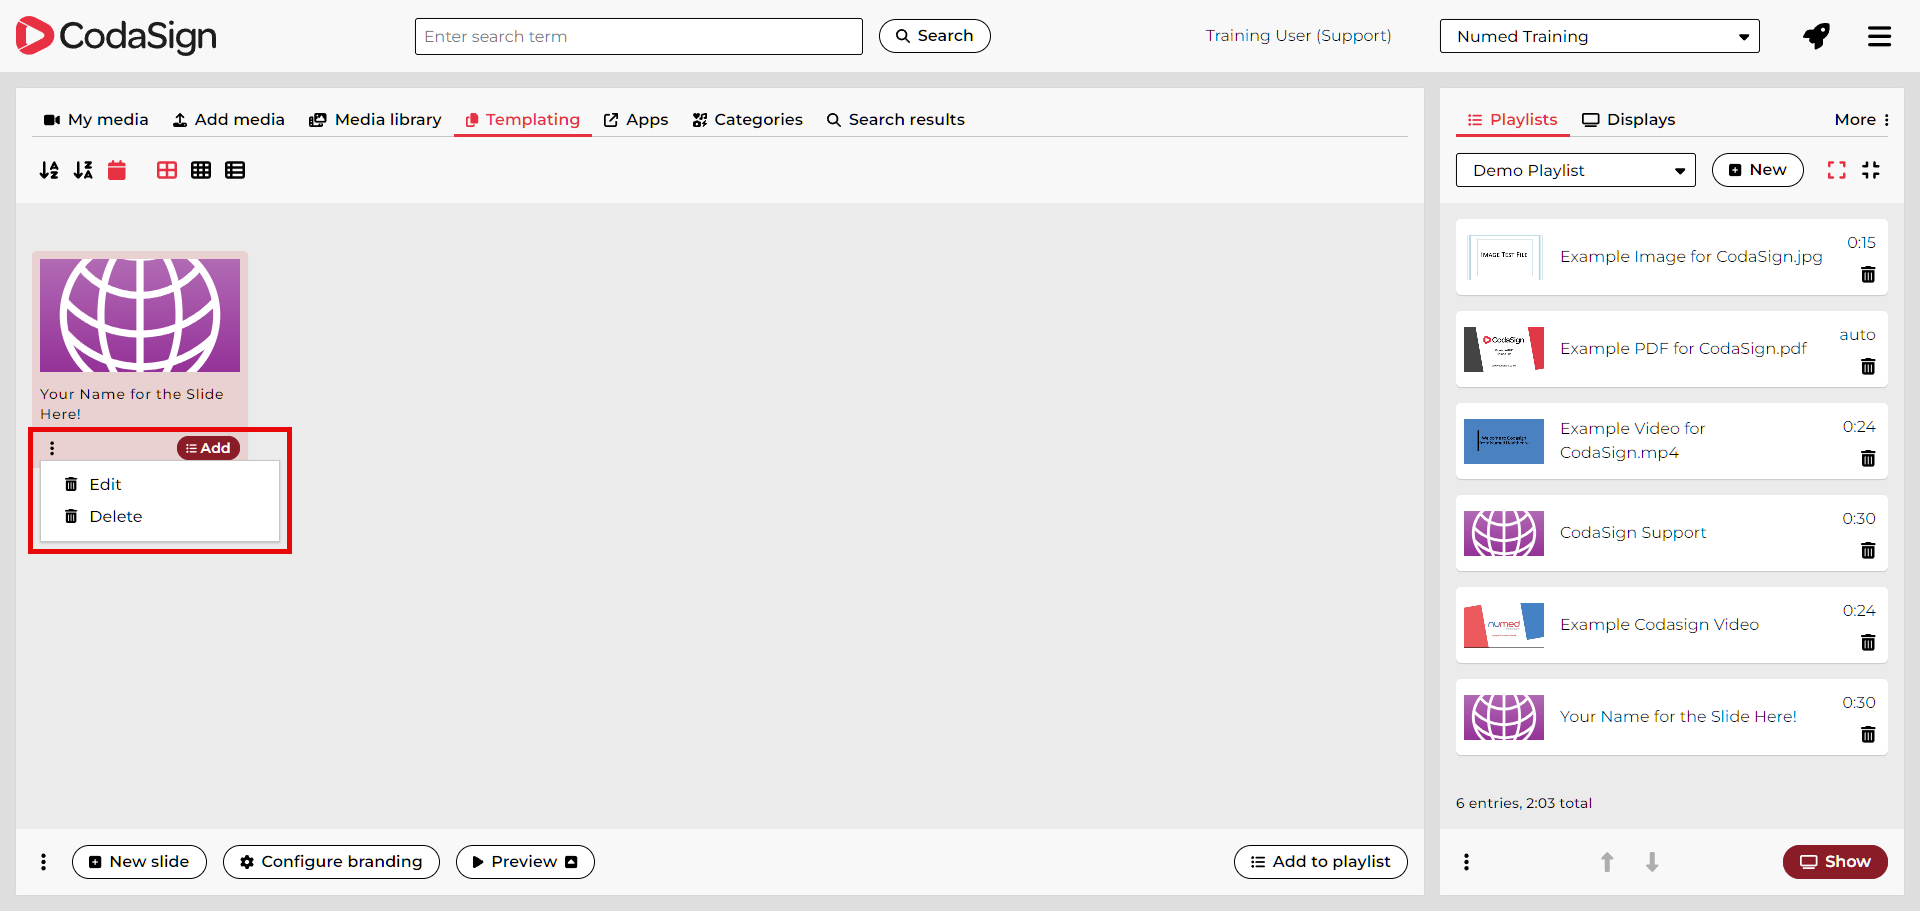
To edit or delete a slide, click the three‑dot menu.
Configure Branding
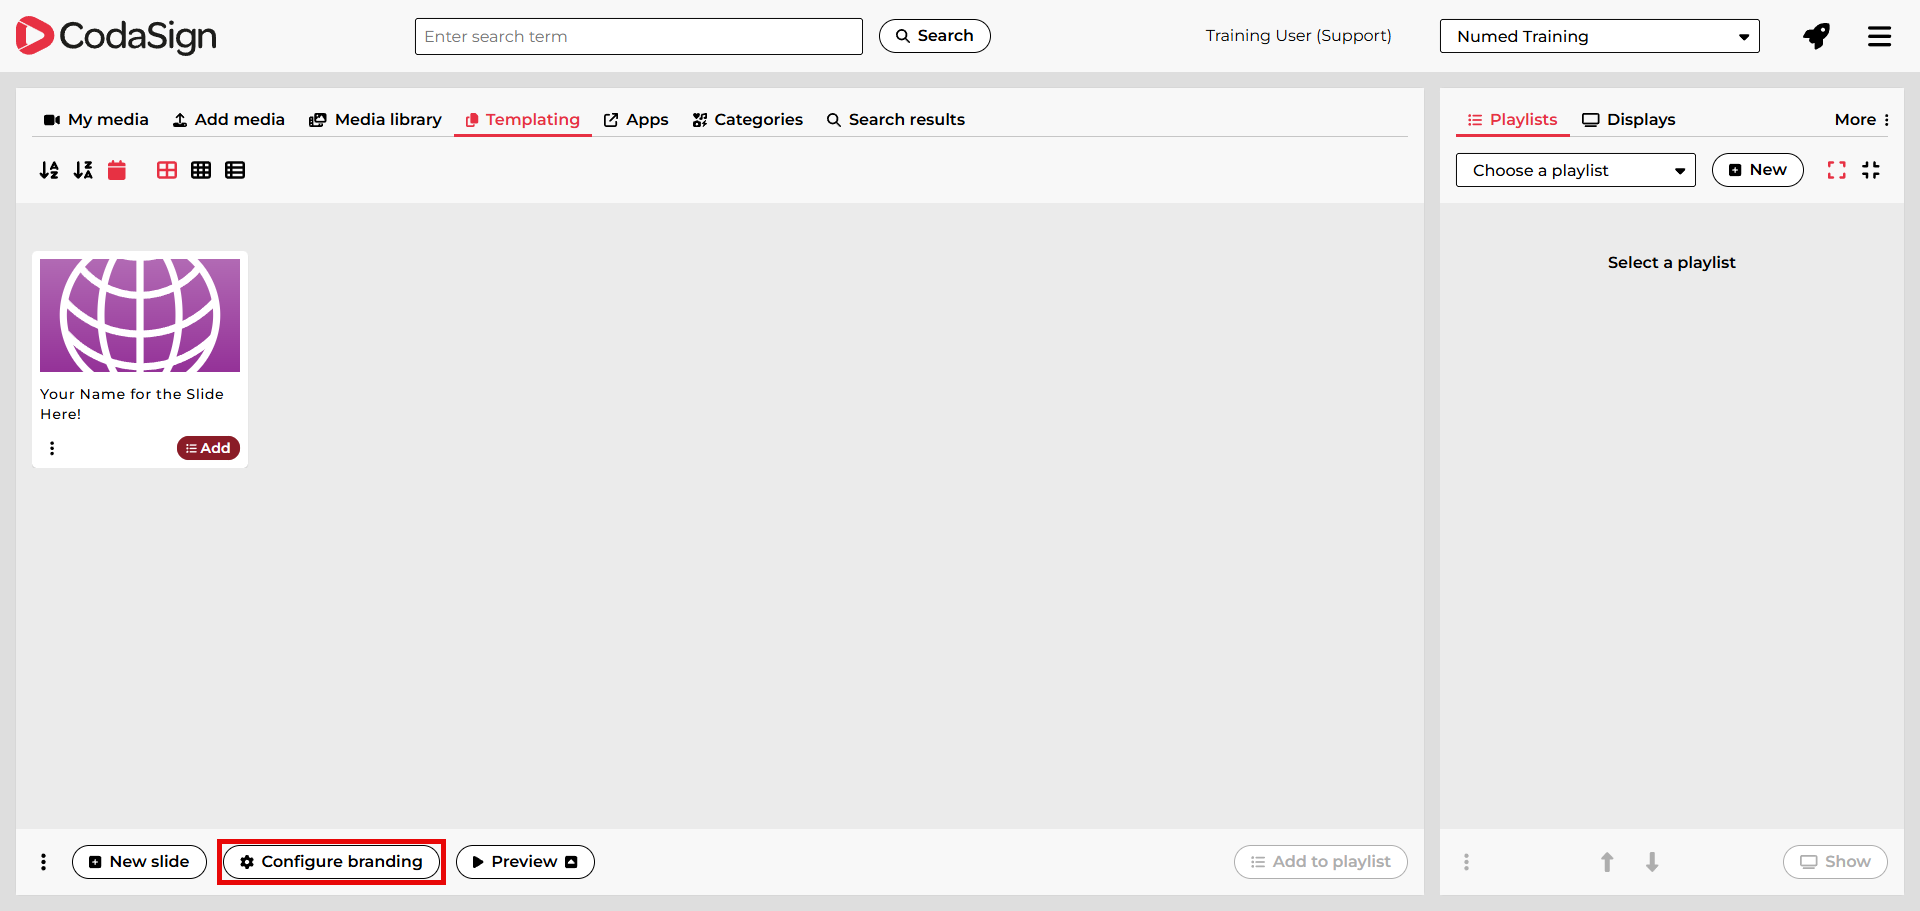
Use Configure Branding if you want to change the default colour scheme used in templates or upload your organisation’s logo.
To adjust the colour scheme for all templates, click  .
.
Colours
This section shows the colours currently used by your template slides.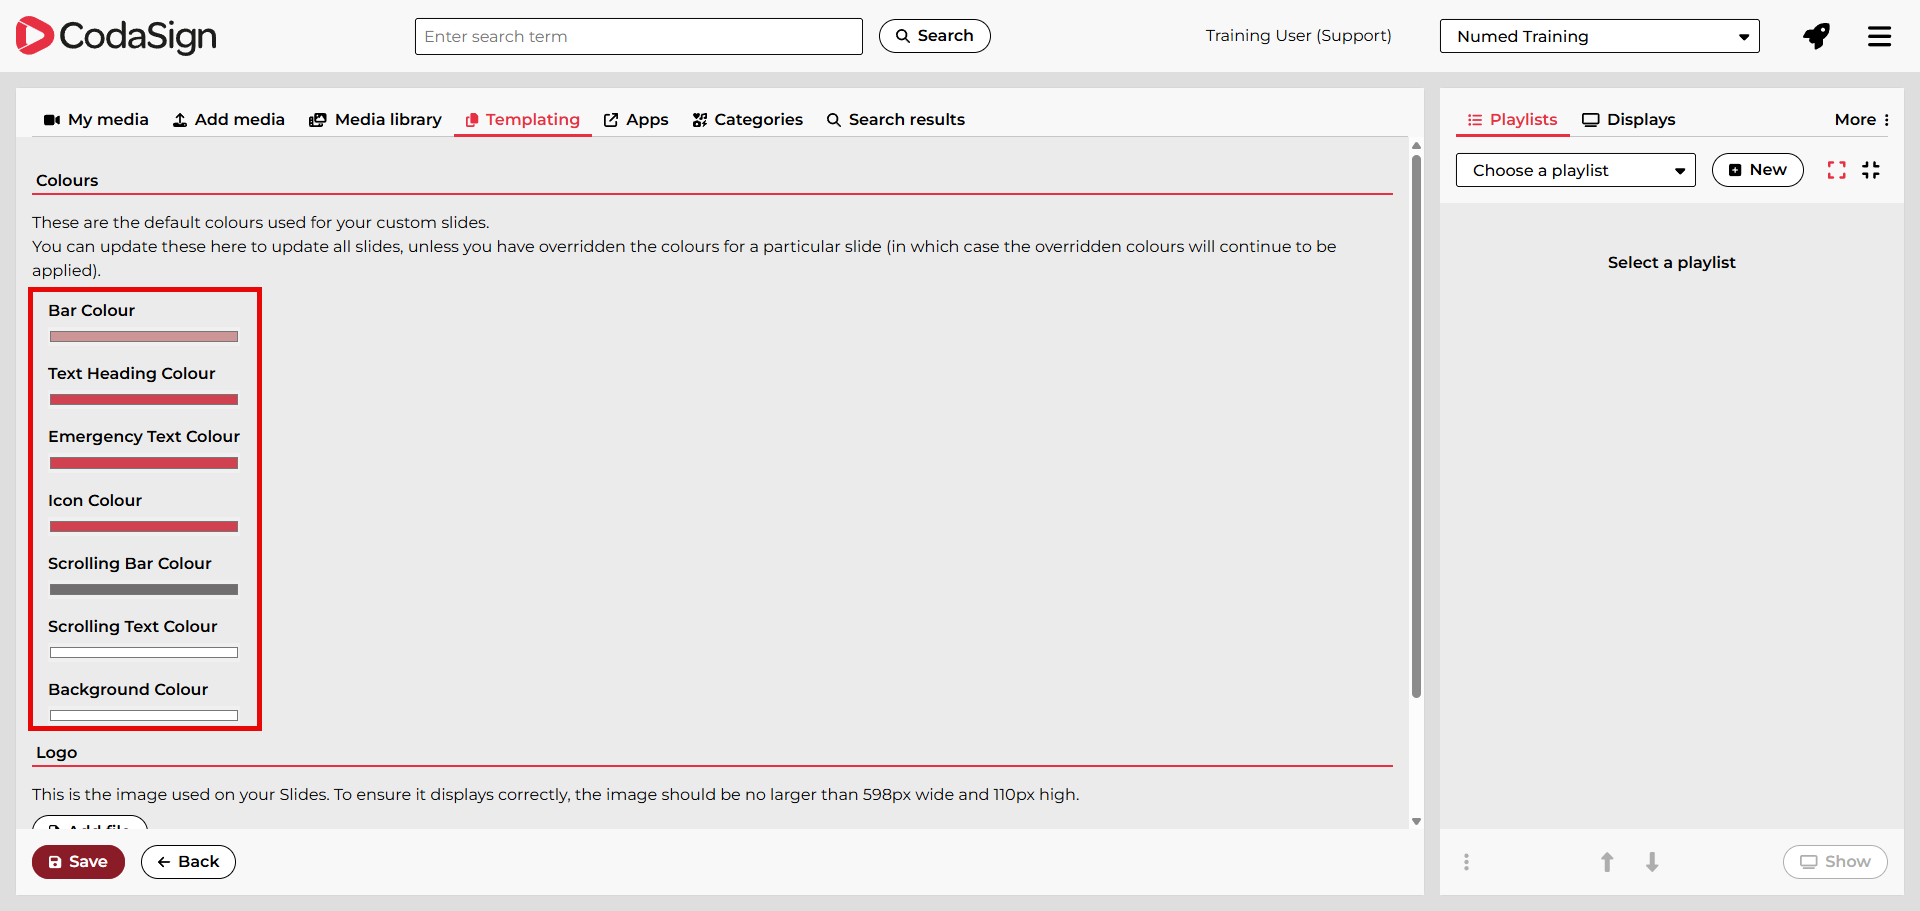
- Clicking a colour category (e.g., Bar Colour) opens a colour picker.
- You can choose a colour using the picker or enter an RGB value.
- Selecting RGB switches the input mode to Hue, Saturation, Lightness (HSL) fields.
- Selecting HSL switches the input mode to HEX.
Click  once all changes are complete.
Logo
You can upload a logo that will appear in the top‑right corner of all slides.
- Click
.
- Locate and select your logo file and click Open.
- Click
Always preview a slide after uploading your logo to ensure it doesn’t overlap existing content.
Override Branding
When creating or editing a slide, you can override the default branding by ticking the Override Branding checkbox.
This opens the same colour options found in the Configure Branding section.
Join Remote Support
Join live Chat
You can chat to one of our technical support team Monday – Friday 8.00am – 5.30pm. |